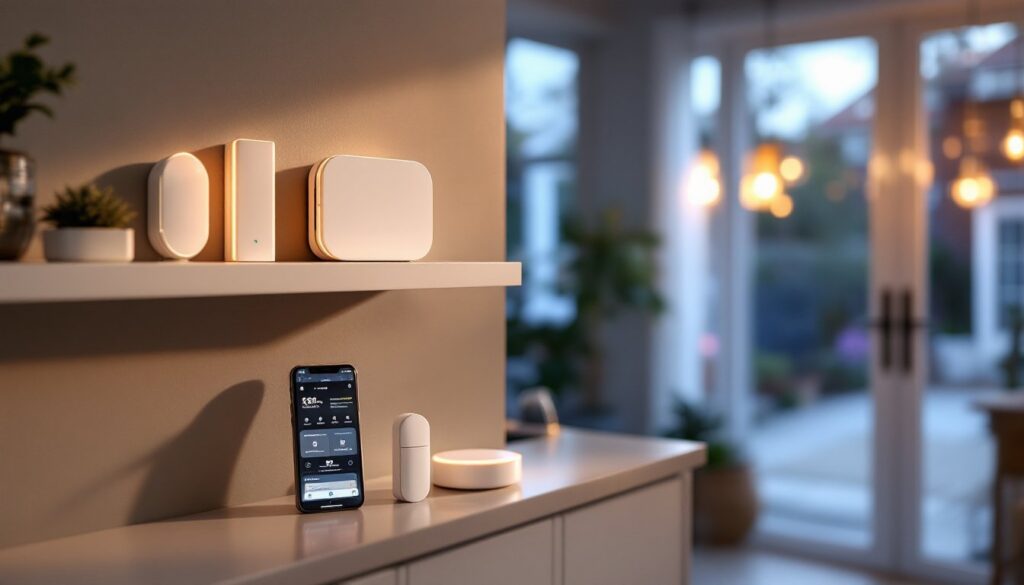
A solid alarm system is only as good as its sensors. These hardworking devices are the eyes and ears of your home security setup, detecting motion, breaches, and threats before they become problems. Whether you’re building a system from scratch or upgrading what you’ve got, understanding how different sensors work, and which ones fit your home, makes a real difference. This guide walks you through the key sensor types, how to choose the right combination for your space, and how to install and maintain them so they actually keep working when you need them.
Table of Contents
ToggleKey Takeaways
- Alarm system sensors—including motion detectors and contact sensors—are the foundation of effective home security, catching intruders at entry points and as they move through your space.
- Contact sensors (magnetic door/window sensors) cost $15–$40 each and should be installed on all exterior doors and ground-floor windows, while motion sensors fill gaps in hallways and high-value areas.
- PIR (passive infrared) motion sensors are reliable and affordable at $20–$50, but dual-technology sensors that combine PIR with microwave detection reduce false alarms from pets and air currents.
- Wireless sensors offer easier DIY installation without wall drilling but require battery replacement every 2–5 years, while hardwired sensors provide long-term reliability after initial cable installation.
- Regular maintenance—replacing wireless batteries every 2–3 years, testing the system monthly, and cleaning sensors—prevents malfunction when you need protection most.
- Most homeowners can install alarm system sensors themselves; professional help is worth considering only for hardwired installation in difficult locations like through studs.
Types Of Alarm System Sensors And How They Work
Motion Detectors And Passive Infrared Sensors
Motion detectors are the workhorses of most alarm systems. The most common type is the passive infrared (PIR) sensor, which doesn’t emit anything, it just watches for heat. When a person or animal moves through the sensor’s field of view, the infrared radiation pattern changes, and the sensor trips. PIR sensors typically cover a fan-shaped detection zone (usually 30 to 40 feet wide, depending on the model) and work best in indoor spaces.
One practical advantage: PIR sensors are cheap and reliable. A basic one costs $20 to $50, and they last years without fuss. The catch is that they’re sensitive to sunlight, heating vents, and pet movement. A 40-pound dog wandering past a living room sensor can trigger a false alarm. That’s why higher-end systems use dual-technology sensors, which combine PIR with microwave detection. Both have to detect motion simultaneously before the alarm sounds, a smart way to cut false alarms from pets or air currents.
Another option is the microwave sensor, which sends out radio waves and watches for disturbances. These are faster to react than PIR alone but use more power and can be overkill for a bedroom. Many DIYers skip them in favor of the simpler, cheaper PIR setup, and frankly, that’s fine for most homes.
Door And Window Contact Sensors
Magnetic contact sensors (or door/window sensors) are straightforward: two parts, a magnet on the door or window frame, and a switch on the door or window itself. When the door opens, the magnet moves away from the switch, breaking the circuit and triggering an alarm. They’re wired or wireless, cost $15 to $40 each, and last indefinitely if kept dry.
These sensors don’t detect who’s opening a door, just that it’s open. That’s a limitation and a feature. They work on sliding glass doors, casement windows, and even cabinets storing valuables. The installation is simple: peel-and-stick adhesive on clean, dry surfaces, or screw-mount for a permanent hold. No wiring, no drilling. A homeowner with a tape measure and a steady hand can install a dozen in an afternoon.
For maximum coverage, place contact sensors on every exterior door and ground-floor windows. Upper-story windows get less attention (though a second-story patio door absolutely deserves one). The key prep work: clean the mounting surfaces with rubbing alcohol, let them dry completely, and test the alignment before sticking anything down. A misaligned sensor won’t reliably detect an open door, and that defeats the purpose.
Choosing The Right Sensors For Your Home
Start by mapping your home. Draw a floor plan and mark every exterior door, ground-level window, and high-value room (master bedroom, home office, garage). This isn’t about getting fancy, a sketch on paper is enough.
For doors and windows, the answer is almost always contact sensors. They’re mandatory on entry points. No exceptions. Ground-floor windows follow next. Upper floors depend on your risk tolerance and how easy they’d be for an intruder to access. A third-floor bedroom window in a dense neighborhood? Lower priority. A ground-floor laundry room window with a utility sink nearby? Higher priority, easier to manipulate from outside.
Motion sensors fill the gaps. Place them in hallways, living rooms, and spaces between entry points and high-value areas. The idea is to catch an intruder moving through your home, not just entering it. A properly placed motion sensor in a hallway leading to bedrooms adds a meaningful layer. But don’t go crazy, five motion sensors in a small 1,500-square-foot home is overkill and creates a logistical nightmare for false alarms.
Consider your pets and habits. If you have a dog or cat, stick with dual-tech sensors or adjust sensitivity settings. Many modern systems let you create pet-immune zones or reduce sensitivity at night when animals are most active. If you frequently open windows for fresh air, contact sensors help you monitor those without triggering alarms every time.
For hardwired vs. wireless, wireless is easier for DIY installation and doesn’t require running cables through walls. But, wireless sensors need battery replacement every 2–5 years depending on the model and usage. Hardwired sensors, once installed, don’t need batteries, they draw power from the alarm panel. If you’re willing to fish cables through walls or run them along baseboards, hardwired is more reliable long-term. Many homeowners mix both: wireless upstairs, hardwired downstairs where running cable is practical.
Budget matters too. A complete sensor package for a 2,000-square-foot home with 6 contact sensors, 2 motion detectors, and a hub might run $300 to $700 depending on whether you go budget or mid-range brands. Investing in sensors from reputable manufacturers, especially for your entry points, is smarter than pinching pennies on critical components.
Installation Tips For DIY Homeowners
Before you install anything, read the alarm panel’s manual. Seriously. Different systems have different setup procedures, and skipping this step is how people end up with sensors that don’t talk to the hub.
For contact sensors: Clean the mounting surface with rubbing alcohol on a lint-free cloth. Let it air dry for at least 30 seconds. Measure twice, an off-center sensor leaves a gap that an intruder could slip through. Position the magnet on the door or window frame and the switch on the door or window itself, with about 1/4 inch of separation when closed. Peel the adhesive backing and press firmly for 10 seconds. Test the door open and closed, the sensor light should change state each time. If it doesn’t respond smoothly, the alignment is off: peel it off and reposition.
For hardwired sensors, you’ll need to run cable (typically 22-gauge alarm cable) from the sensor to the control panel. This is the tedious part. Use existing conduits, run along baseboards, or drill through studs and fish cable vertically. If you’re drilling studs, use a 1/2-inch drill bit and don’t hit electrical wiring, know where your circuits run before you drill. Seal holes with caulk or foam to avoid creating pest entry points. Wire terminals are labeled at the sensor: NC (normally closed) or NO (normally open). Most alarm installers use NC, which means the circuit is complete until the door opens. Follow the panel’s wiring diagram, one mistake here and the sensor won’t function.
For motion sensors: Place them in corners, 5–6 feet high, aimed at the most likely entry path through the room. Avoid direct sunlight, heat vents, and windows. Test the detection range after installation by walking through the space, if the sensor has an indicator light, watch it respond to your movement. If it’s not triggering reliably, adjust the angle slightly downward (sensors often have a 15–20-degree adjustment range).
Wireless sensors need batteries installed and paired to the hub according to the manufacturer’s instructions. Most modern systems use simple tap-and-confirm pairing, hold the sensor near the hub, press a button, done. Hardwired sensors just need their wires connected to the right terminals and power supplied from the panel. Take photos of your wiring layout before you close any walls, future troubleshooting will thank you.
Safety note: If you’re uncomfortable running electrical or drilling into studs, call a pro for that part. A licensed installer knows local code and won’t accidentally cut into something important.
Maintaining And Troubleshooting Your Sensors
Maintenance is minimal but critical. Replace wireless sensor batteries every 2 to 3 years, mark it on a calendar so you don’t forget. Many systems alert you when battery voltage drops, so don’t ignore those warnings. A dead battery in a contact sensor defeats the entire point.
Keep sensors clean. Dust and cobwebs can block PIR sensors’ infrared detection. Wipe them with a dry, soft cloth every few months. For contact sensors on doors and windows, ensure the magnet hasn’t shifted, check alignment quarterly, especially on frequently opened doors.
Test the system monthly. Open a protected door or window (with the system in test mode) and confirm the alarm triggers on your phone or the panel. If a sensor doesn’t respond, check the battery, verify the alignment (for contact sensors), and confirm it’s still paired to the hub (for wireless models). The alarm panel should show the sensor’s status in its menu, if it shows “fault” or “offline,” the sensor isn’t communicating.
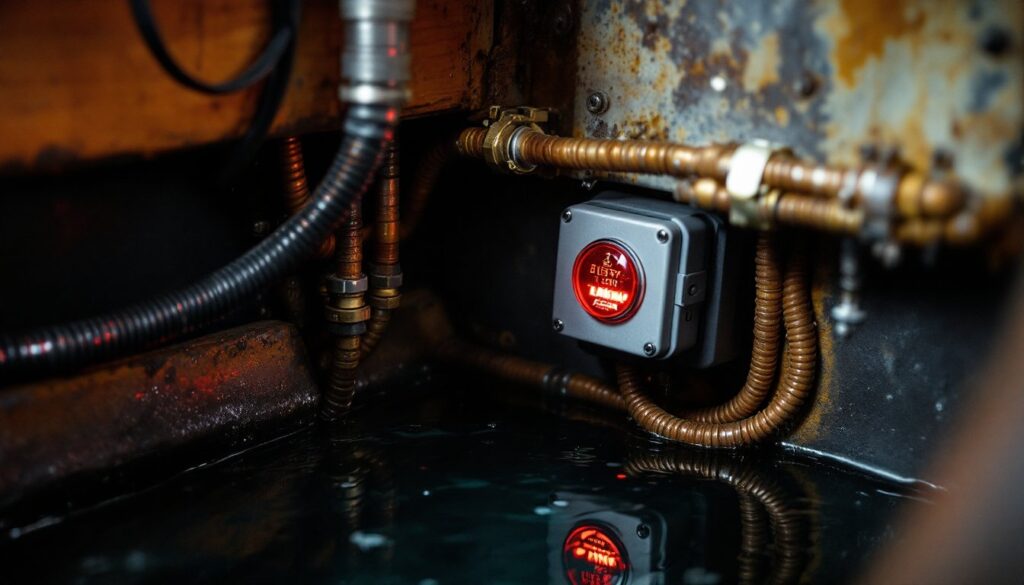
For hardwired sensors, look for corroded terminals or loose wires. Moisture is the enemy, if a basement sensor is acting weird, check for water damage. Corrosion can break the circuit without fully severing the wire, creating intermittent faults that are maddening to diagnose. If you find corrosion, clean the terminals with fine-grit sandpaper and reapply a thin coat of dielectric grease to prevent it from coming back.
False alarms often come from misconfigured sensitivity or pets triggering motion sensors. Most systems let you adjust motion sensitivity and create pet-immune zones in the settings. Spend 20 minutes tuning these after installation, it’s worth the effort. If false alarms persist, you might need a dual-tech sensor instead of PIR-only, or you might need to relocate the sensor away from air vents and direct sunlight.
When sensors start acting up after years of service, don’t assume they’re broken. Battery, alignment, and pairing are the first three things to check. Nine times out of ten, one of those is the culprit.
Conclusion
Alarm system sensors are the foundation of home security that actually works. Contact sensors on doors and windows catch intruders before they get inside, while motion detectors provide a secondary line of defense. Choosing the right sensors for your home, installing them carefully, and maintaining them consistently turns a basic alarm system into a genuine security asset. Most DIYers can handle the installation, especially for wireless systems. If you’re uncertain about hardwiring or don’t want to drill into studs, a professional installer is a reasonable call. Either way, your future self will appreciate the peace of mind.