
When a break-in happens, it’s usually fast, but a GE home security alarm system is faster. If you’re considering a DIY installation instead of paying a professional, you’re on the right track: GE systems are designed for homeowners who want reliable protection without the premium installation costs. This guide walks you through what the system is, how to install it yourself, and how to get it running smoothly. Whether you’re securing a new build or retrofitting an existing home, you’ll find the steps you need to stay ahead of trouble.
Table of Contents
ToggleKey Takeaways
- A GE home security alarm system combines wireless sensors, motion detectors, and a central hub with Wi-Fi and Z-Wave connectivity, eliminating the need for expensive professional installation and permanent wiring.
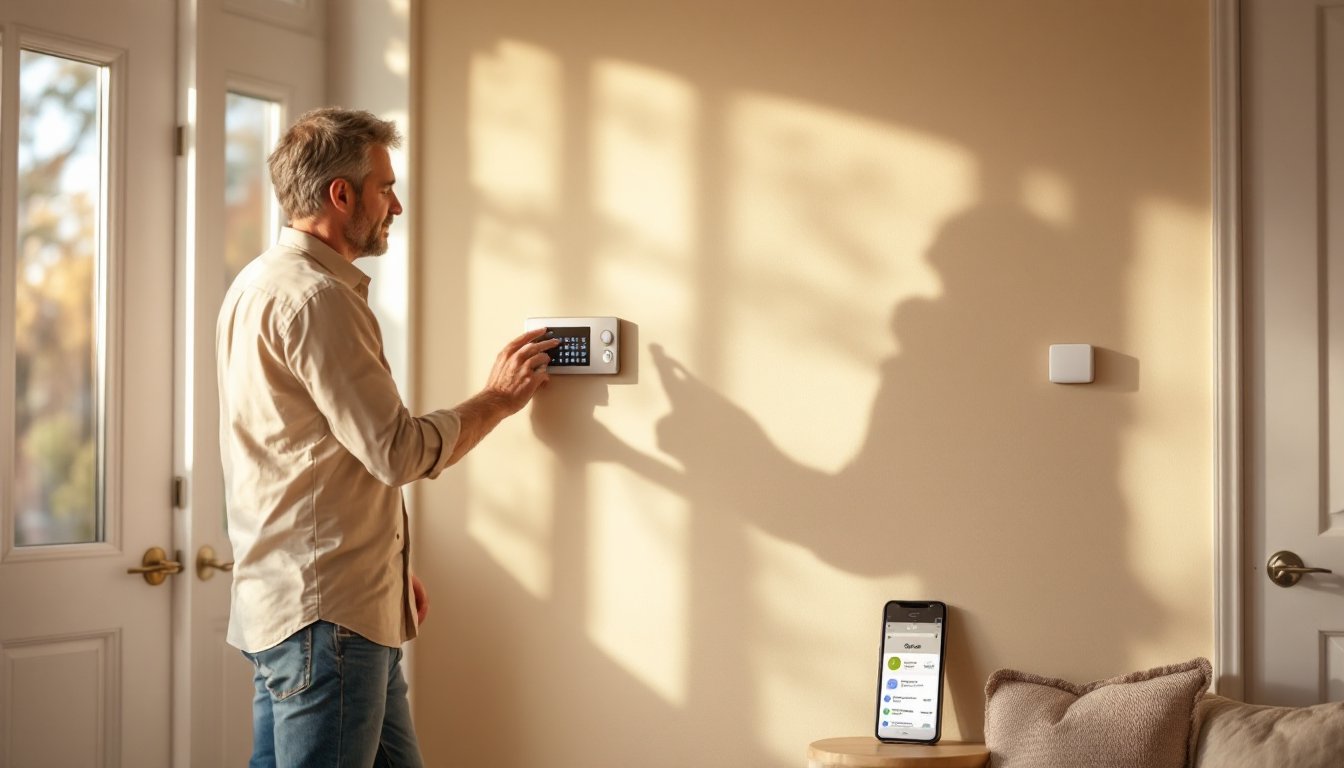
- DIY installation is straightforward for most homeowners: position the hub centrally, attach door/window sensors, install motion detectors 4–6 feet high, and configure the mobile app for real-time notifications and remote arming.
- Battery-backed sensors and hub backup power ensure your GE home security alarm system remains active during power outages, offering greater resilience than traditional wired systems.
- Customize notifications per sensor and adjust motion detector sensitivity in the app to prevent alert fatigue while maintaining reliable protection against intrusions.
- Start with a basic setup and scale your system over time by adding cameras, glass-break sensors, or motion detectors as your budget allows—no rip-and-replace necessary.
- Common issues like unresponsive sensors, false alarms, and Wi-Fi connectivity problems can usually be resolved by checking battery levels, adjusting placement, and using a Z-Wave repeater to extend range.
What Is The GE Home Security System?
The GE home security alarm system is a wireless, self-monitored security setup that combines a central hub, door/window sensors, motion detectors, and optional cameras into one integrated network. Unlike older hardwired systems that require running cable through walls and ceiling joists, GE systems communicate via Wi-Fi and Z-Wave technology, making them accessible to DIYers.
The core of any GE system is the control panel, a touchscreen or keypad that arms and disarms the system, displays alerts, and logs activity. Battery-backed sensors attach to entry points (doors, windows) and detect motion throughout your home. The system can send notifications to your smartphone in real time, whether you’re at work or out of town.
GE systems sit in the middle ground: they’re more affordable than professional monitoring services but require you to respond to alerts yourself or pay for optional professional monitoring. The wireless design means no drilling through studs or running conduit, which is a major advantage for renters and homeowners who don’t want permanent installation.
Key Features and Benefits for Homeowners
Wireless installation is the headline feature. Unlike wired systems that demand professional electricians and building permits in some jurisdictions, GE systems use battery-powered sensors and Wi-Fi connectivity. No running cables means faster setup and no visible wires marring your walls.
Smartphone notifications let you arm and disarm remotely, check sensor status, and receive instant alerts if a door opens or motion is detected. Many users keep their phone nearby and can react immediately, calling police, checking a camera feed, or arming the system if they forgot before leaving.
Scalability is another win. Start with a basic hub and a few door sensors, then add motion detectors, glass-break sensors, or cameras as your budget allows. There’s no rip-and-replace: the system grows with your needs.
Battery backup ensures your system stays armed even during a power outage. The hub typically runs 24 hours on internal batteries, and wireless sensors last months or years on AA or AAA batteries depending on use and model. Wired home alarm systems require constant power, making wireless a more resilient option.
Lower upfront cost compared to professional monitoring contracts or hardwired systems is real. You’re paying for equipment, not a technician’s labor and ongoing service fees, though optional professional monitoring is available if you want it.
Installation Options: Professional vs. DIY Setup
GE makes it possible to install yourself, but it’s worth understanding when to call a pro.
DIY installation works if you’re comfortable with basic tech setup, don’t have structural complications (like a multi-story home with poor Wi-Fi reach), and are willing to spend an afternoon on the job. You’ll place the hub in a central location, attach sensors to doors and windows, test connectivity, and configure the mobile app. No permits required for the equipment itself, you’re just placing devices, not altering your home’s electrical or structural systems.
Professional installation makes sense if you have a large home, multiple floors with Wi-Fi dead zones, or you want sensors integrated into a whole-home automation system. A technician can conduct a site survey, run the hub and sensors optimally, and integrate them with your existing smart home devices. You’ll pay labor costs upfront, but the system will be tuned for your space.
For most single-family homes and apartments, DIY is viable. GE’s documentation is straightforward, and customer support can walk you through hiccups.
DIY Installation Steps
-
Choose your hub location. The control panel should be central, ideally near the middle of your home to maximize Wi-Fi reach to all sensors. Avoid closets, basements, or metal cabinets that block signals. The hub needs AC power and a clear line of sight (roughly) to your router.
-
Power on the hub and connect to Wi-Fi. Plug in the panel, follow the on-screen setup wizard, and connect to your home network. You’ll create a PIN code for arming and disarming, something only you know.
-
Place sensors on entry points. Using included adhesive strips or small screws, attach door/window sensors to all primary access points. The magnet half goes on the frame, the sensor on the door or window. Test that each opens and closes without resistance: sensors are finicky about alignment.
-
Install motion detectors in main rooms. Position them 4–6 feet high on walls, angled to cover entry routes. Avoid pointing them directly at heat sources (radiators, vents, sunlit windows) that can trigger false alarms.
-
Test sensor connectivity. Open and close each door and window, walk past motion detectors, and confirm the hub registers events. Check the app: if a sensor doesn’t respond, move it closer to the hub or add a wireless repeater.
-
Download and configure the mobile app. Follow prompts to link your smartphone, set notification preferences, and create automation routines (auto-arm at night, alerts for specific sensors). Motion sensor alarms can be configured to notify you immediately or after a delay, depending on your preference.
-
Test the full system. Arm the system and trigger a sensor (open a door). Confirm you receive a notification. Disarm and re-arm to ensure the PIN works smoothly.
Getting Started: System Configuration and Mobile App
Once hardware is in place, software setup determines usability.
The GE mobile app (available on iOS and Android) is your command center. After creating an account and linking your hub, you’ll see a dashboard showing all sensors, their battery levels, and real-time status. Open a door? The app shows it within a second or two, thanks to Wi-Fi connectivity. This responsiveness is far faster than old-school phone calls from monitoring centers.
Arm/disarm modes typically include “Away” (fully armed, all sensors active), “Home” (perimeter sensors only, so motion inside doesn’t trigger), and “Disarmed” (full access, no alerts). Some systems let you schedule automatic arming, say, arm at 11 p.m. daily and disarm at 7 a.m. on weekdays.
Notifications can be customized per sensor. You might want instant alerts for front door opens but only summary emails for motion in the garage. Adjust settings to avoid alert fatigue: too many notifications and you’ll ignore them.
Integration with smart home platforms (Amazon Alexa, Google Home) lets you voice-command arming and check status. Smith Thompson Home Security and Alarm Houston and similar regional providers also offer integration guides if you’re comparing systems.
Backup monitoring is optional. GE offers 24/7 professional monitoring, a dispatcher calls when an alarm triggers and can contact police if you don’t answer. This costs extra (typically $10–30 per month) but adds a layer of insurance if you can’t respond.
Troubleshooting Common Issues
Sensor not responding. The most common problem. First, check the battery, replace it if the level is low. Next, confirm the sensor is within 100–150 feet of the hub with a clear path (fewer walls and metal are better). Wi-Fi interference from microwaves or cordless phones can cause dropouts: move the hub or router slightly. If issues persist, a Z-Wave repeater (a small plug-in device) can extend range.
False alarms from motion detectors. These usually come from pets, ceiling fans, or sunlight reflecting off moving objects. Adjust sensor sensitivity in the app, higher thresholds reduce false triggers but might miss intrusions. Point detectors away from windows and heat sources. Pet-immune models exist but cost more.
Hub won’t connect to Wi-Fi. Restart the hub (unplug for 30 seconds, plug back in) and your router. Ensure you’re entering the correct Wi-Fi password. If your router is 2.4 GHz only, you’re fine: if it’s dual-band, the hub typically prefers 2.4 GHz. Check your router settings and force the hub to that band.
App crashes or slow notifications. Update the app on your phone. If the hub is older firmware, check the app for firmware updates, a stalled system can behave erratically. Restart the hub if notifications lag more than a few seconds.
Door/window sensor stuck open or closed. Misalignment is the culprit. The magnet and sensor need to be within 1 inch of each other when the door closes. Loosen the adhesive strip, slide the sensor closer, and retack it. Test a few open-close cycles.
For persistent issues, GE’s customer support (phone, email, or live chat in the app) is reliable. Have your hub serial number and a list of problem sensors handy when you call.
Conclusion
A GE home security alarm system delivers solid protection and peace of mind without the contractor price tag. The wireless design, smartphone integration, and straightforward DIY installation make it an attractive choice for homeowners ready to take security into their own hands. Compare it against top-rated home security systems and 2026 alternatives to see where it fits your needs. Start with the basics, test thoroughly, and add layers (cameras, extra sensors) as your comfort level and budget grow. Your home’s first line of defense is awareness: your second is a system that alerts you when something’s wrong.